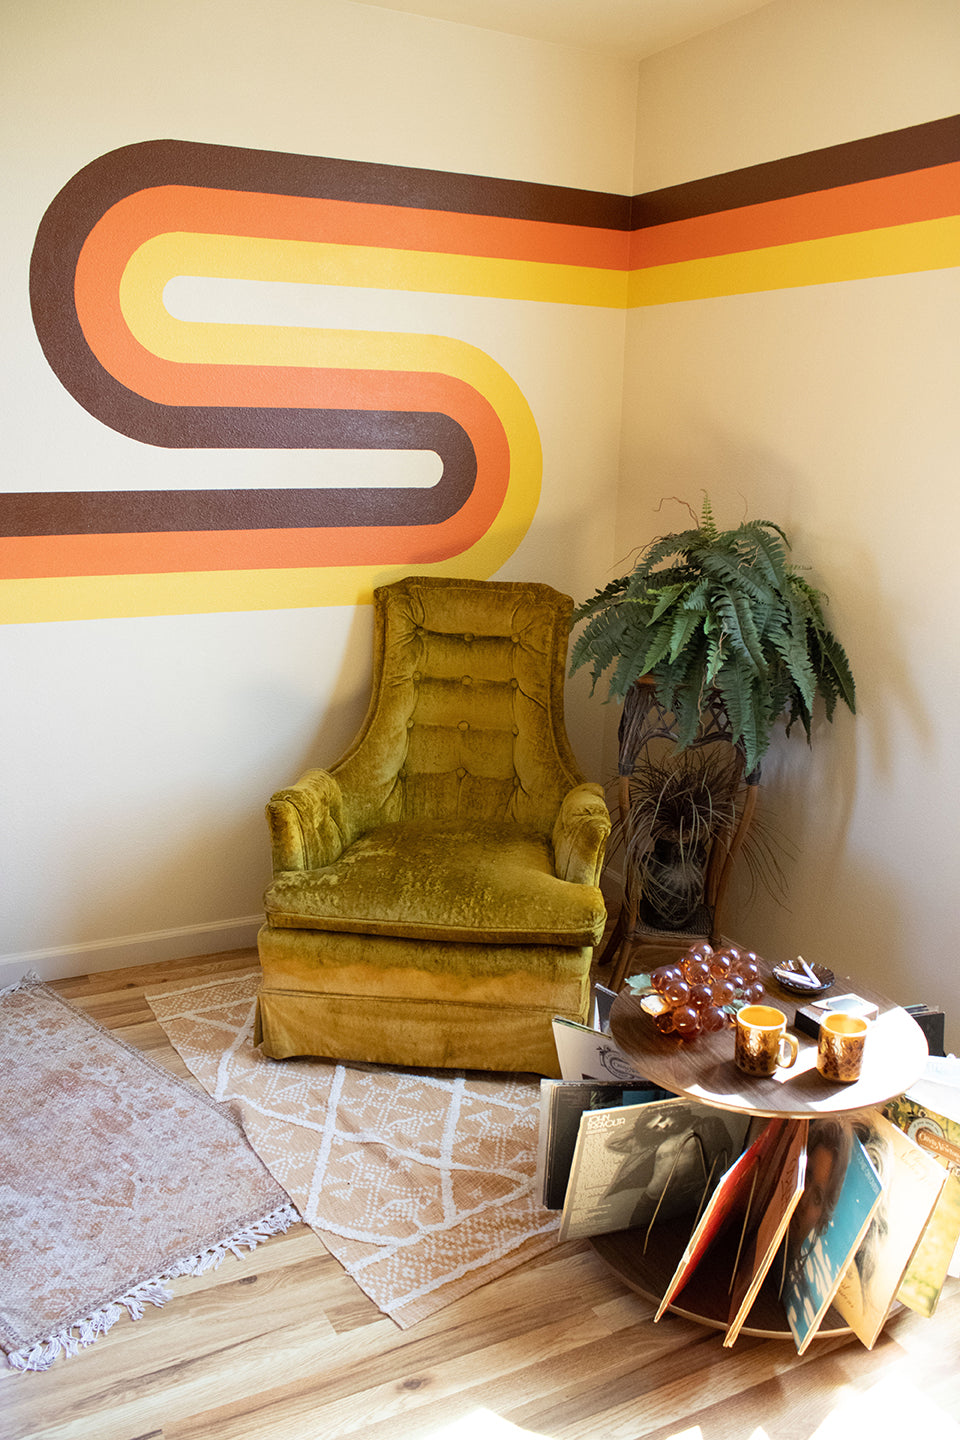
How To Paint a 1970's Style Supergraphic Wall Mural
Aktie
We don’t know about you, but we’ve always wanted a 1970’s super graphic mural on our wall, they added instant style to even the simplest rooms. So, we decided to paint one ourselves!
Materials
- Push pin or nail (to hold your ruler/yardstick in the wall)
- Pencil (make sure you have a good eraser)
- Ruler (this will be used to measure your circle circumference if you’re doing a smaller mural, if you plan a larger one you can use a yardstick, preferably wood that you can drill a hole in for the pencil to make the process WAY easier, see this helpful blog that demonstrates said technique)
- Yard stick (to draw your long stripes)
- Level (we used a laser level)
- Painters tape (we used the kind meant for rough surfaces and ripped it into small pieces on the curves but if you have smooth walls, you could use super thin tape for ease around the round areas)
- Paint (ours is Satin finish)
- Paint brushes (large and very small for touch ups)
Optional: Drafting compass in lieu of a ruler (if you’re doing a smaller scale mural to draw circles)
Now of course many things are dependent on how big your wall is or how large you want your mural. We wanted a traditional “S” shape. Our wall is roughly 6’ wide x 8’ tall and we wanted our stripes to be about 4 inches thick.
Note: A lot of articles/blogs that we found said to use a string tied to a pencil to trace your circles, this did NOT work for us (we have textured walls and needed something sturdier over the bumps). We recommend using a ruler or yardstick instead to keep the pencil steady.
We started by making two circles (about 4” diameter) 45 degrees from one another. We did this by sticking a pushpin into the wall to hang/steady our ruler as we pushed our pencil against it to trace a circle. This will be the very center of your “S” and should be the background color of your wall. Then we repeated making circles 4” larger each time until we had 4 circles (we did 3 color stripes, and of course you’ll have your very center circle).

Next, you’ll want to take your level and yardstick to draw a straight line connecting the bottom of your innermost (higher) circle with the outermost of your lower circle. Continue this process until all circles connect to the opposing side.

The painting is the easy part. Begin with your lightest color, taping off the outside of that stripe, let it dry and then move onto your next color. While taping off the edges of your medium color, the tape should overlap onto the lightest color and what will be the darkest. After that dries, you’ll lastly tape off your darkest color, being careful to smooth down the tape fully so that it does not bleed into your light colors. After the last dries, remove your tape and touch up any drips or pencil lines that didn’t get covered.

And you’re done!
In conclusion, we are not artists by any means, not good at math, are not very patient and did this all on textured walls so the moral of the story is – if we can do it, you definitely can!
We hope this worked for you (as many suggestions we read did not help us or were confusing) and we’d be more than happy to answer any questions if you’re attempting it yourself.
Here is a quick timelapse how to video so that you can see how ours turned out.

Stay groovy!
